Poetry is a powerful dependency management tool for Python that simplifies the process of managing the project dependencies, packaging, publishing, etc.. . It simplifies dependency management, virtual environments, and packaging, thus making development more efficient and less prone to errors.
The primary aim of Poetry is to make Python project management more user-friendly and dependable. It uses a single configuration file pyproject.toml for managing project metadata, dependencies, and scripts.
This makes it unnecessary to use multiple files and tools resulting in a streamlined development process. With Poetry integrated into your project, you will have some features such as accurate dependency resolution, easy virtual environment control, one-click publishing to PyPI, etc.
Adding Poetry to an Existing Project
To use Poetry in an existing Python project, you are required to take some steps that include installing Poetry, initializing it into your project, and transferring your present dependencies and setup to the management system of Poetry.
Step 1: Install Poetry
Begin by installing Poetry through the official installation script or pip. The official script is recommended as it is simple.
Using the official script:
curl -sSL https://install.python-poetry.org/ | python3 -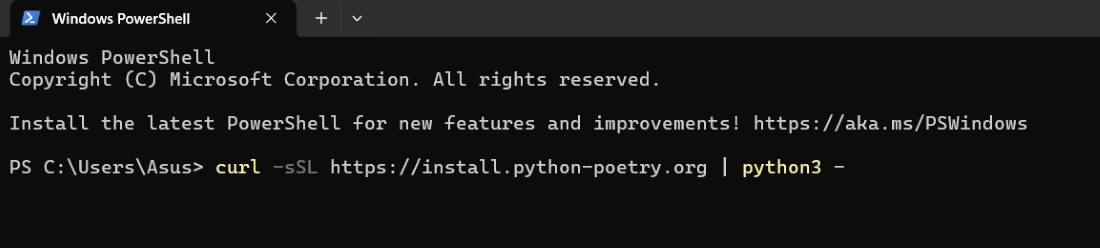
Or Using pip:
You can also install poetry using pip :
pip install poetry
Verify the installation:
Now after installing poetry , verify whether it is installed properly or not.
poetry --version
Step 2: Initialize Poetry
Navigate to your project's root directory in the terminal and initialize Poetry. This process will create a pyproject.toml file, which serves as the central configuration file for your project.
cd /path/to/your/project
I have made my project with name my_project , so my path would be :

Now Initialize Poetry in your project by using poetry init command :-
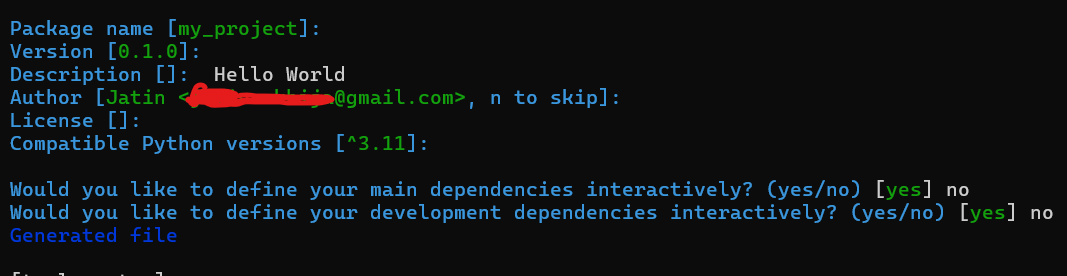
poetry init
Press Enter to accept the default name, which is based on your project directory. If you prefer any other name, type it and press Enter.
You will be prompted to enter various details about your project:
- Package Name: The name of your project [my_project].
- Version: The current version of your project (e.g., 0.1.0).
- Description: A brief description of your project.
- Author: Your name and email (e.g., Your Name [email protected]).
- License: The license for your project.
- Dependencies: List any dependencies your project requires.
Step 3: Add Existing Dependencies
We can manually add each dependency in our project by :-
poetry add requests 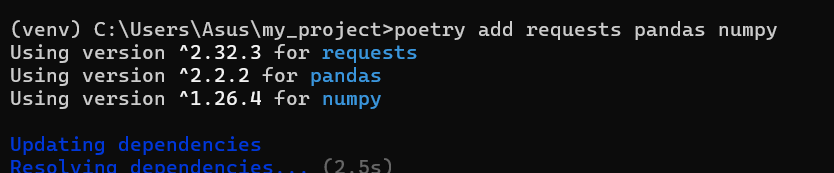
Step 4 : Handle Development Dependencies:
Add development dependencies with the -- group dev flag:
poetry add --group dev
Step 5: Configure the Virtual Environment
Configure Poetry to create virtual environments in your project directory:
poetry config 
Activate the Virtual Environment:
On Windows:

Alternatively, run commands within the environment without manual activation:
poetry run python {filename}
Step 6: Update Project Scripts
Update scripts to use poetry run python instead of python to ensure they run in the Poetry-managed environment.
Step 7: Manage Dependencies
Use Poetry to manage dependencies:
- Add a New Dependency:
To add a new dependency we use :
poetry add [package_name]
- Update Dependencies:
poetry update
- Remove a dependency:
To remove any unwanted dependency poetry remove is used :
poetry remove [package_name]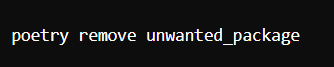
Compatibility Considerations
When integrating Poetry, consider the following:
- Existing Virtual Environments: Although it is possible to use existing virtual environments, it's recommended to let Poetry manage them for consistency.
- Optional Dependencies: To specify optional dependencies , use the optional field in pyproject.toml.
- Using pip: To prevent conflicts ,avoid using pip for dependency management after migrating to Poetry.